Last update: 19.01.2024.
This tutorial is meant to make your interaction with the platform as easy as possible. We made sure that the user journey is straightforward without paths that could stray you away from your main goal. Publishing your story comes down to a few simple steps. Without further ado lets begin.
If you landed on this website by Google search results than your registration step will be a little different from the users that landed by their respective media houses. You will understand what we mean by this in the next steps.
When landed on the home page, in the top right corner you will notice two blue buttons. One is for logging in and the other is for account registration. If you don’t have an already created account you click the blue registration button. You will be taken to the new page, the registration page.
Here you need to fill in the details about your account to create it. It is a two-step form with basic profile requirements:
Email – Email used to connect with the platform
Your Name – The name that will be publicly visible.
Phone Number (Optional) – Your phone number.
Country (Optional) – Your country of birth
In the other case where you came to the website by clicking on the banner of your chosen media house, you will be directly taken to the corresponding registration page. This is to ensure that you interact directly with the media house of your choice. The rest of the process is the same from this step.
After you fill in the registration form and submit it you will receive an email with a confirmation token, click on it and you will be redirected to the successfully registered page. While you are being redirected you will receive another email with your username and password. Use them to login to the platform and start posting your stories.
Now that we are on your profile we can start your journalist journey.
In the left corner you will see a logo of our project that serves as a placeholder until you decide to change it. Below that is the nickname that you choose in the registration phase.
Next to them on the right are three options that we will explore.
Below these options, you will see your contact information which is only visible to you and the editors.
Under your contact information, there is a block dedicated you your post list. Don’t worry it is empty at first but we are here to change that in the next steps.
The first thing that you can do is to update your profile with more information like a profile image and a short bio about yourself. This is done by going to the profile settings option.
On this page, you will have the option to either change or update your profile information. After filling in the changes just click on the “Update Profile” button and your profile will be updated.
This is of course, also optional.
Now we are coming to the most important part of our journey, the story writing.
We will start creating your story by going to the “Add Story” option in the account menu.
This will open up a new page with a multistep form which will serve as a step by step guide for your writting.
This step is the most important one since it is about the content that will be displayed to the editors to see.
The first step in the process of creating your article is to agree to our terms and conditions. If you agree with it just confirm it by checking the checkbox and click next.
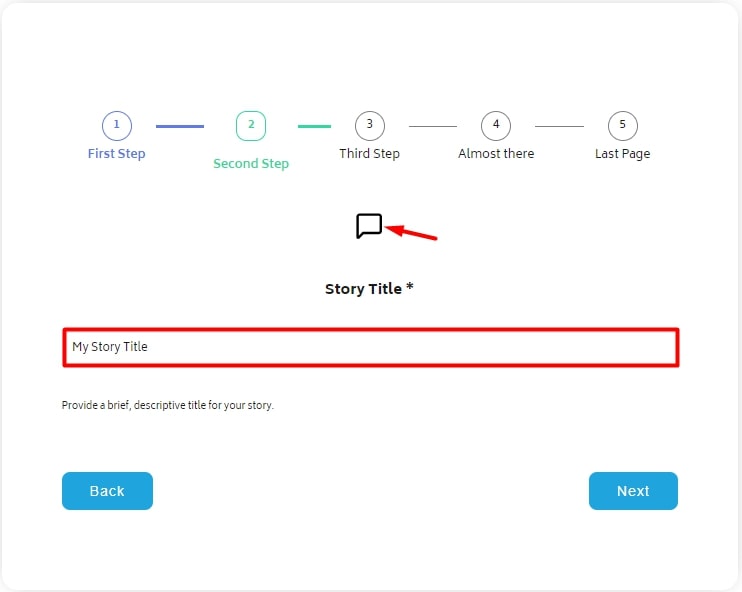
You will be now taken to the second step where you need to give your story a title. There is a mini comment icon above the field you need to fill. Click on it and find our guiding tips on how to prepare and publish your story.
Once you have your title you are ready to move to the next step so click next.
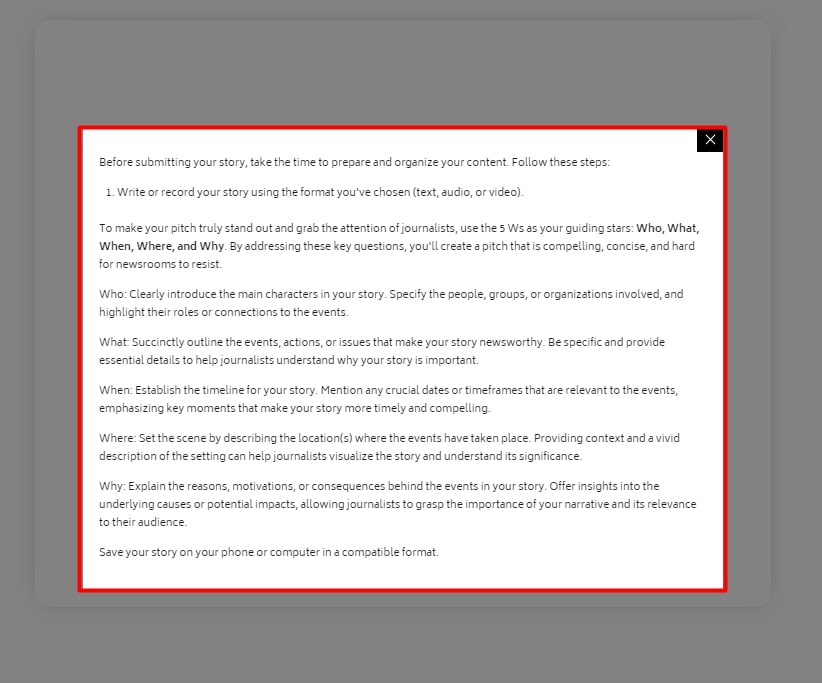
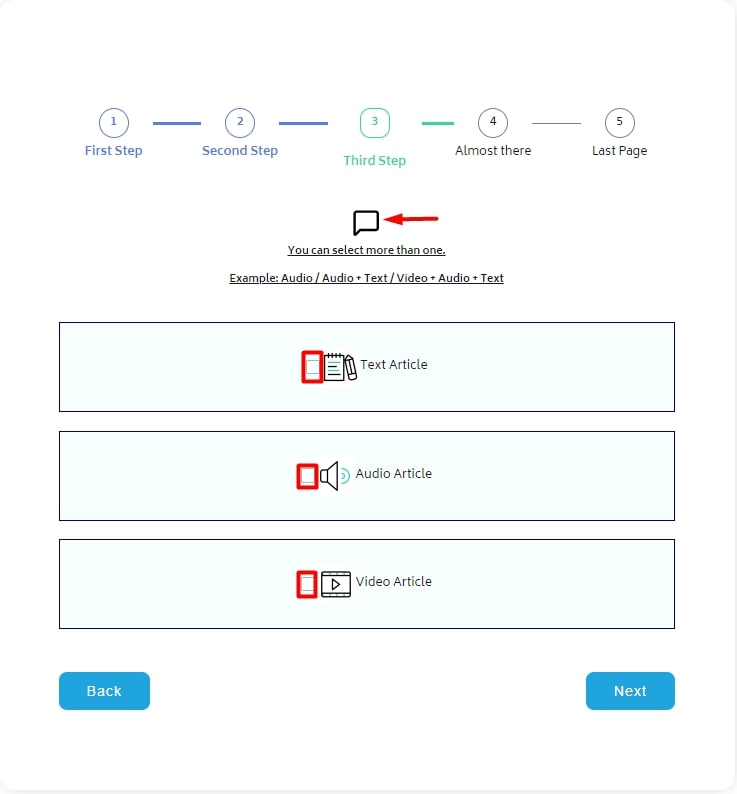
There is an explanation for every selection if you click on the black icon above the choices.
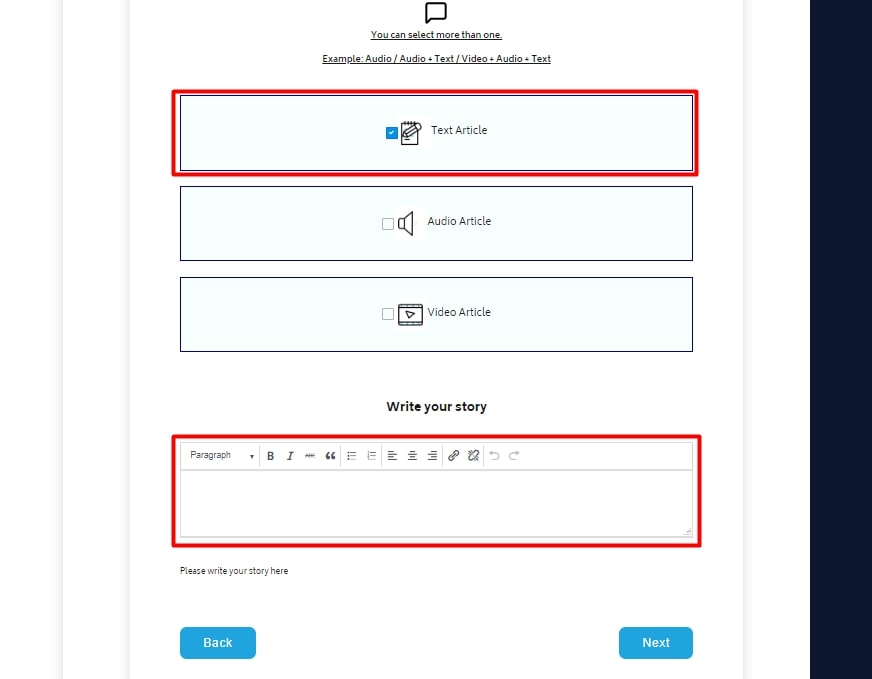
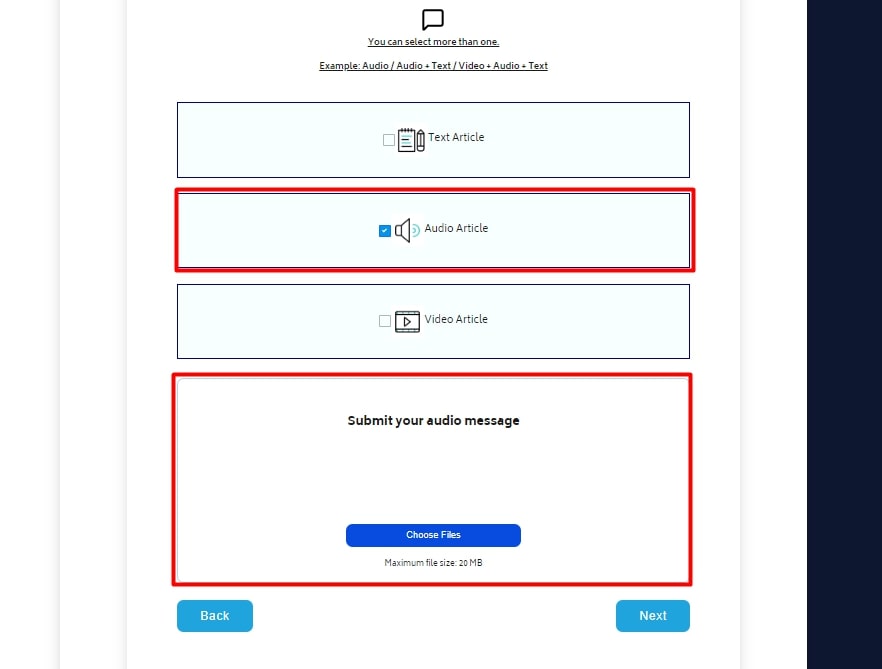
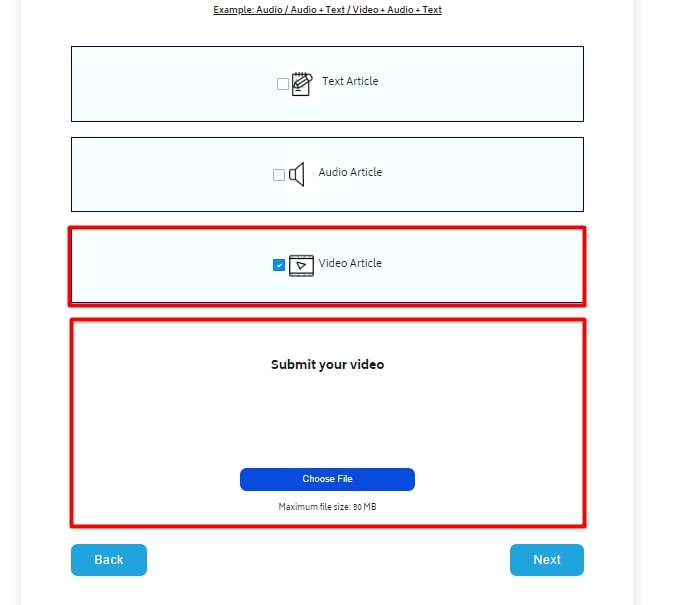
By now you decided what type of article you want to create. Either only text, audio, or video, or a combination of those three.
By selecting a certain checkbox a new field will appear below that you will be able to edit.
After you wrote your story or uploaded audio or audio, you can click on the next button.
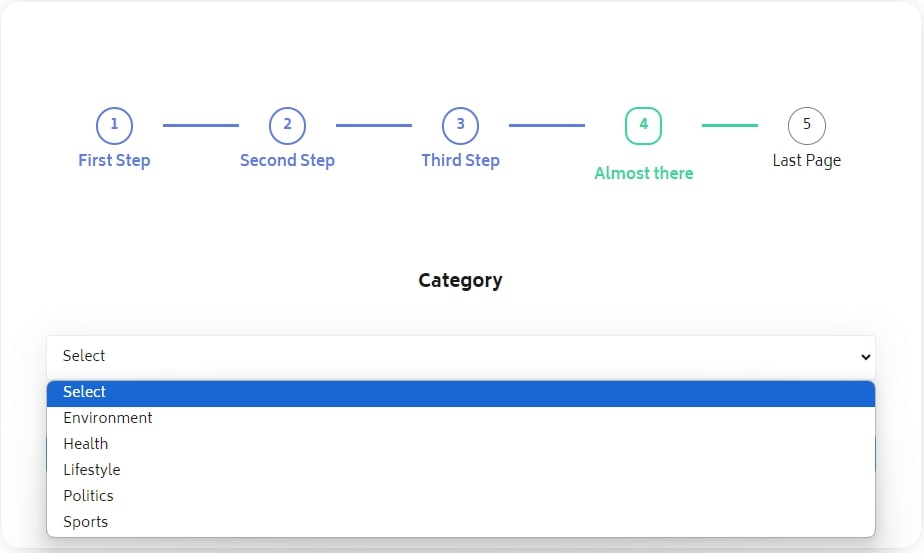
The next step is to determine in which category you want your story to be. The categories are predefined by the needs of the media houses.
When you select the category you can move to the final step.
The last step is completely optional and it serves to add legitimacy to your story by providing factual proof. You can submit a single image or a small gallery.
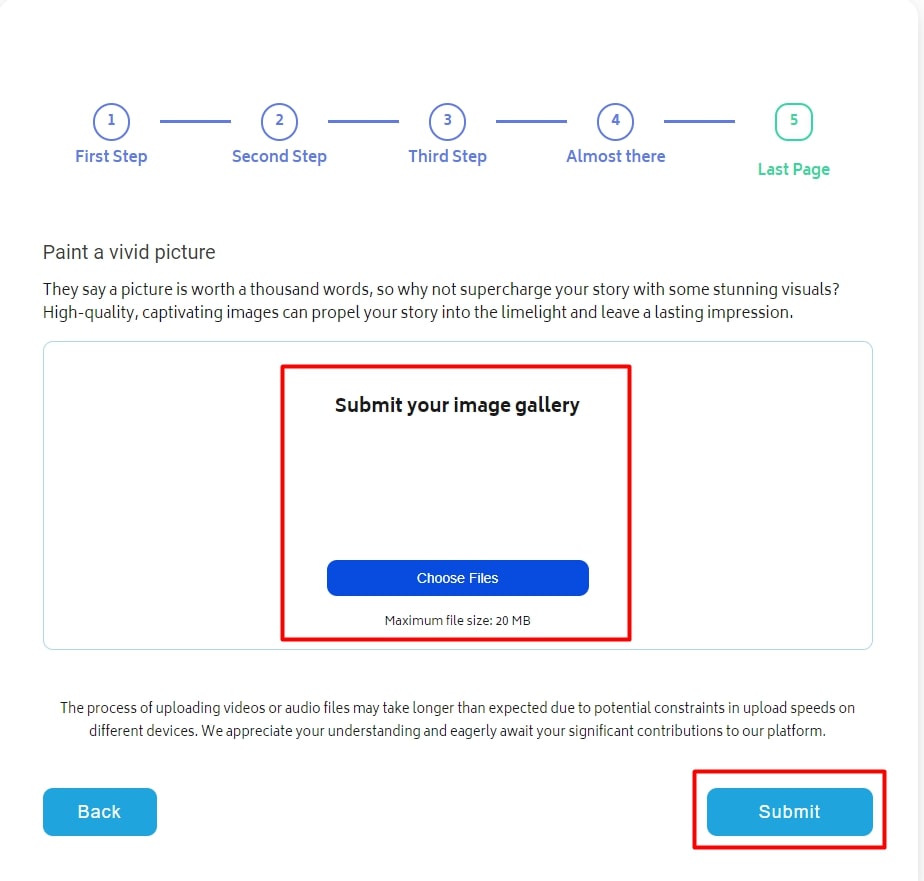
After you completed importing content you can submit your story for review.
Please bear in mind that the upload of certain file types takes longer depending on your internet connection.

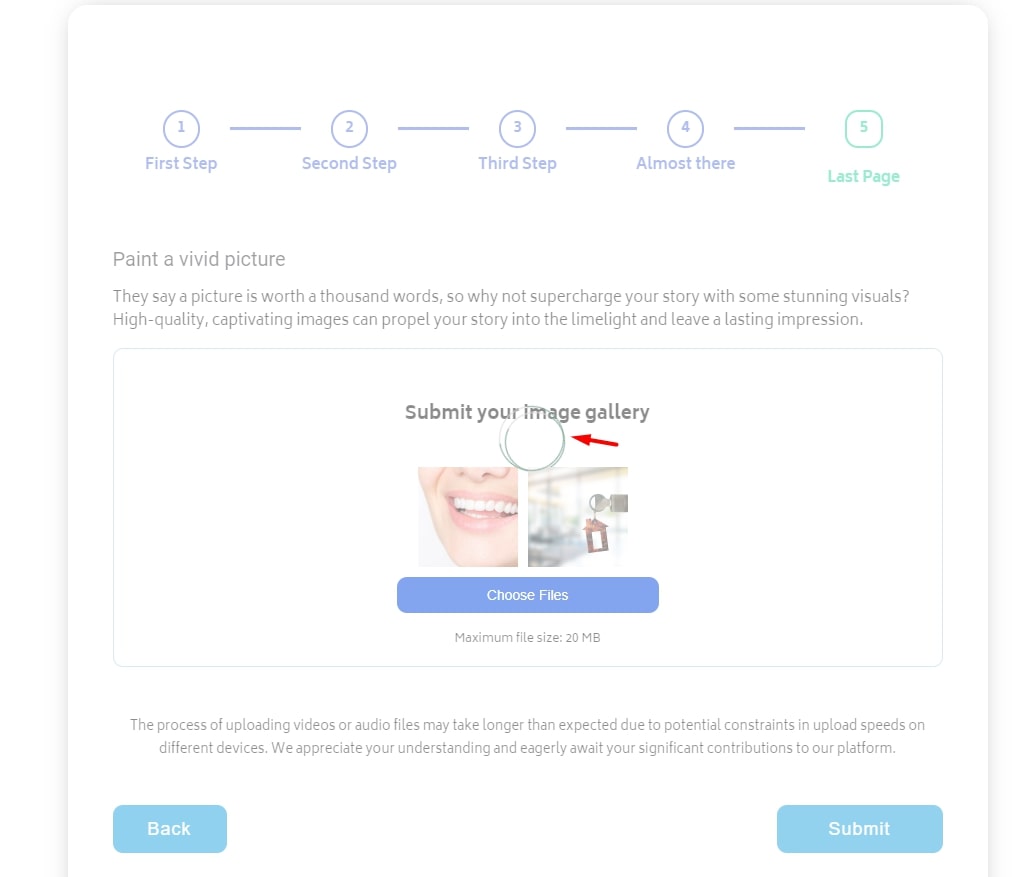
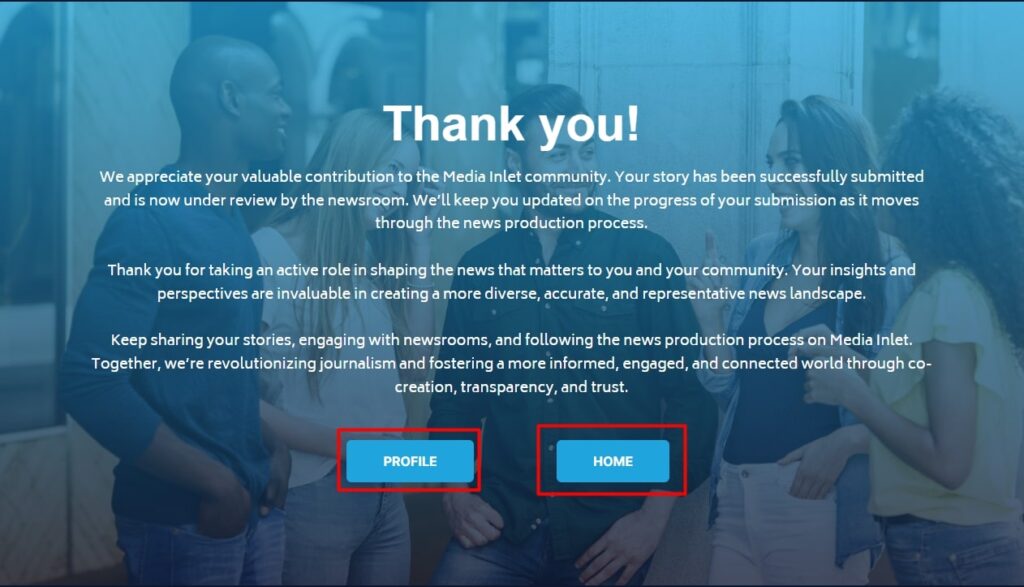
After successfully posting your story you will be redirected to the thank you page.
Here you will have an option to return to your account or to further explore our platform.
Now that your story is published you can watch its progress.
The way you do that is by going to the profile page and then from the list of the articles you created you select the one you want to check.
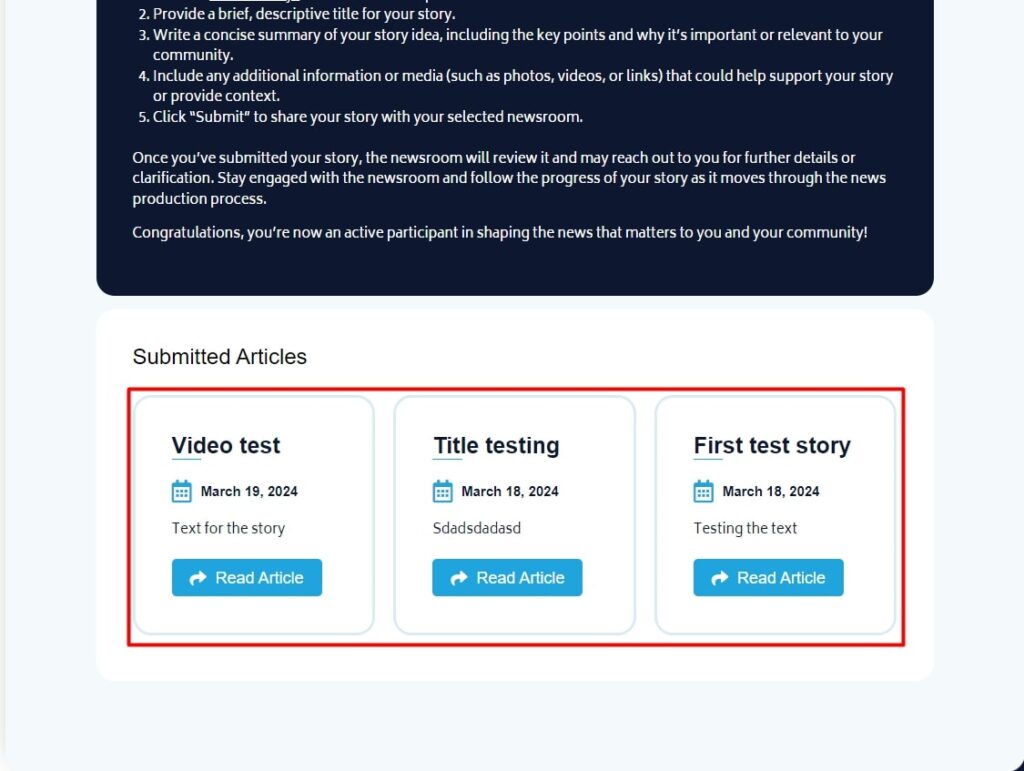
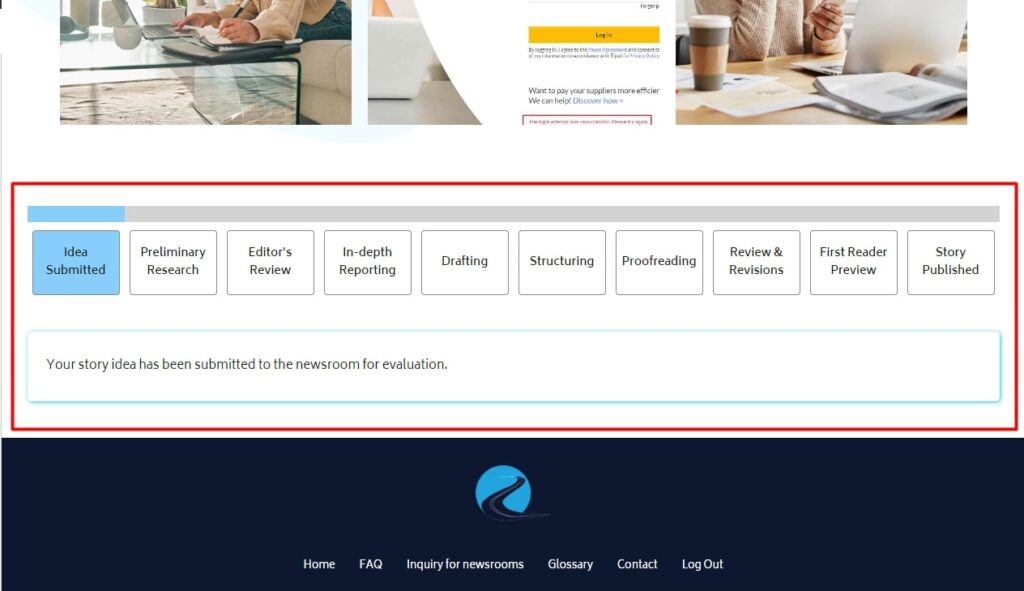
At the bottom of the page, you will see a progress bar with comments. You can see if your article has passed the initial editor’s choice and if so in which stage is it at the moment.
You will also get notified when the status on your story changes.
